Choose the Transferty Payment Gateway Plugin for WooCommerce today to take your online business to new heights by providing a seamless payment solution that will keep your customers returning for more!
Elevate your customers’ payment experience with our WooCommerce Payment Gateway plugin. Simplify your store’s checkout process and extend your reach to a global customer base with unwavering confidence. Experience a remarkable boost in your store’s performance and customer satisfaction.
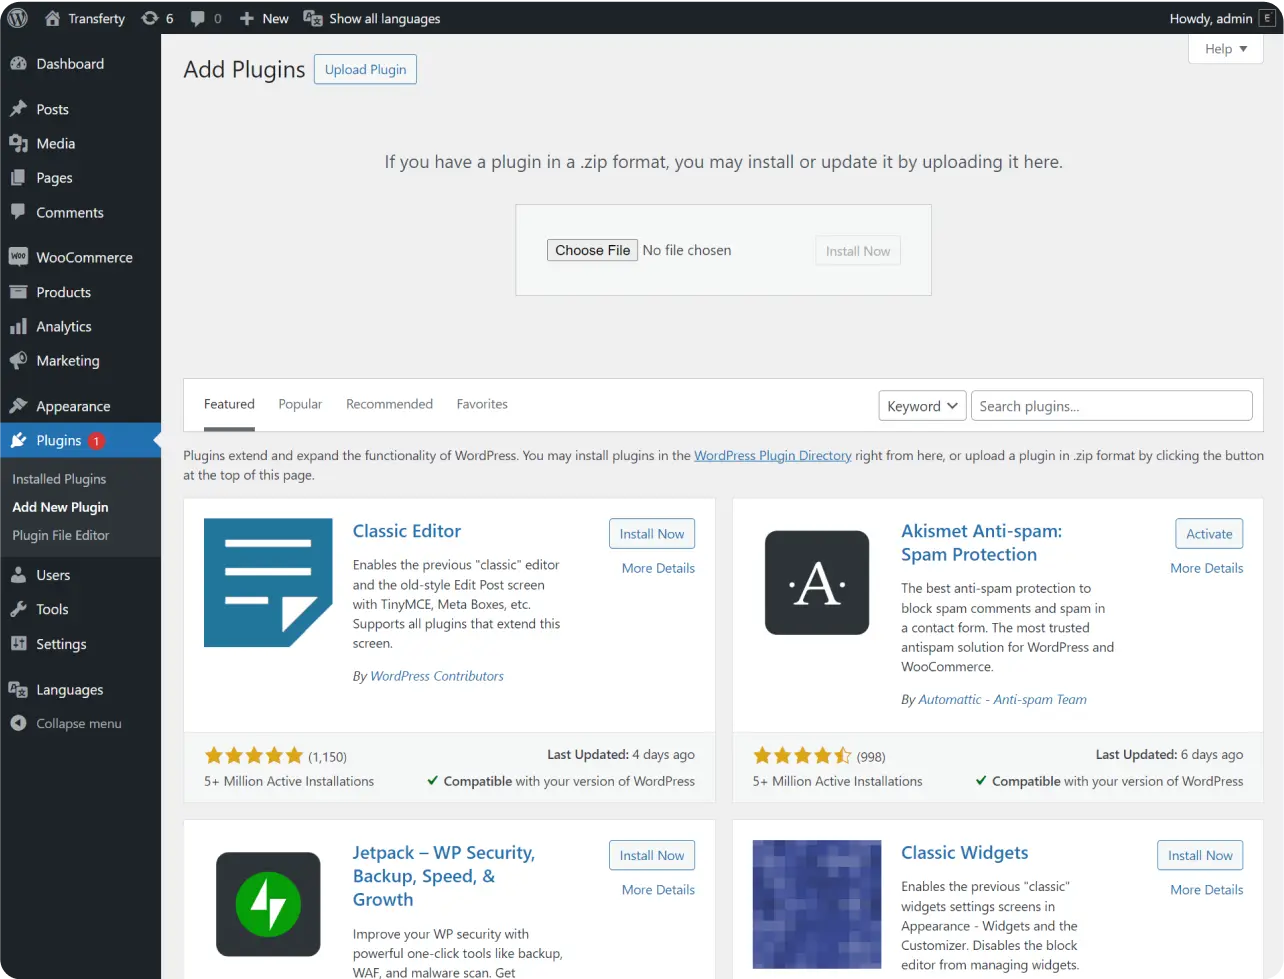
Installing a plugin is a straightforward process that allows you to enhance the functionality of your website. Follow these simple steps to seamlessly integrate plugins into your WordPress environment.
- Log in to your WordPress Dashboard
- Go to Plugins > Add New Plugin
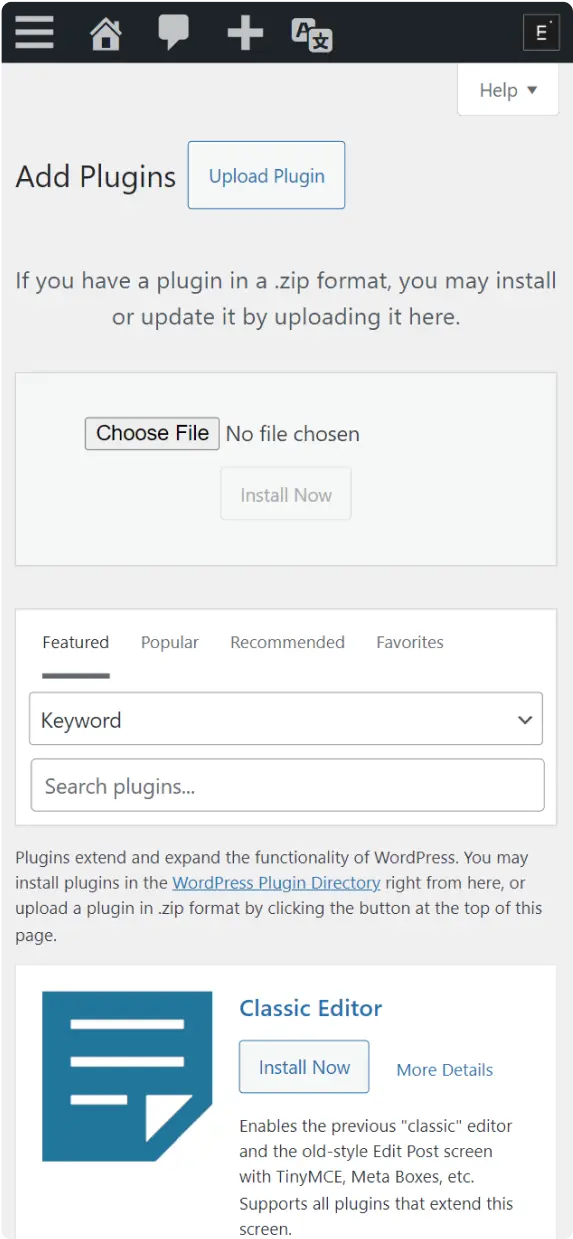
- Click on Upload Plugin
- Use the screen that appears to find an Install form
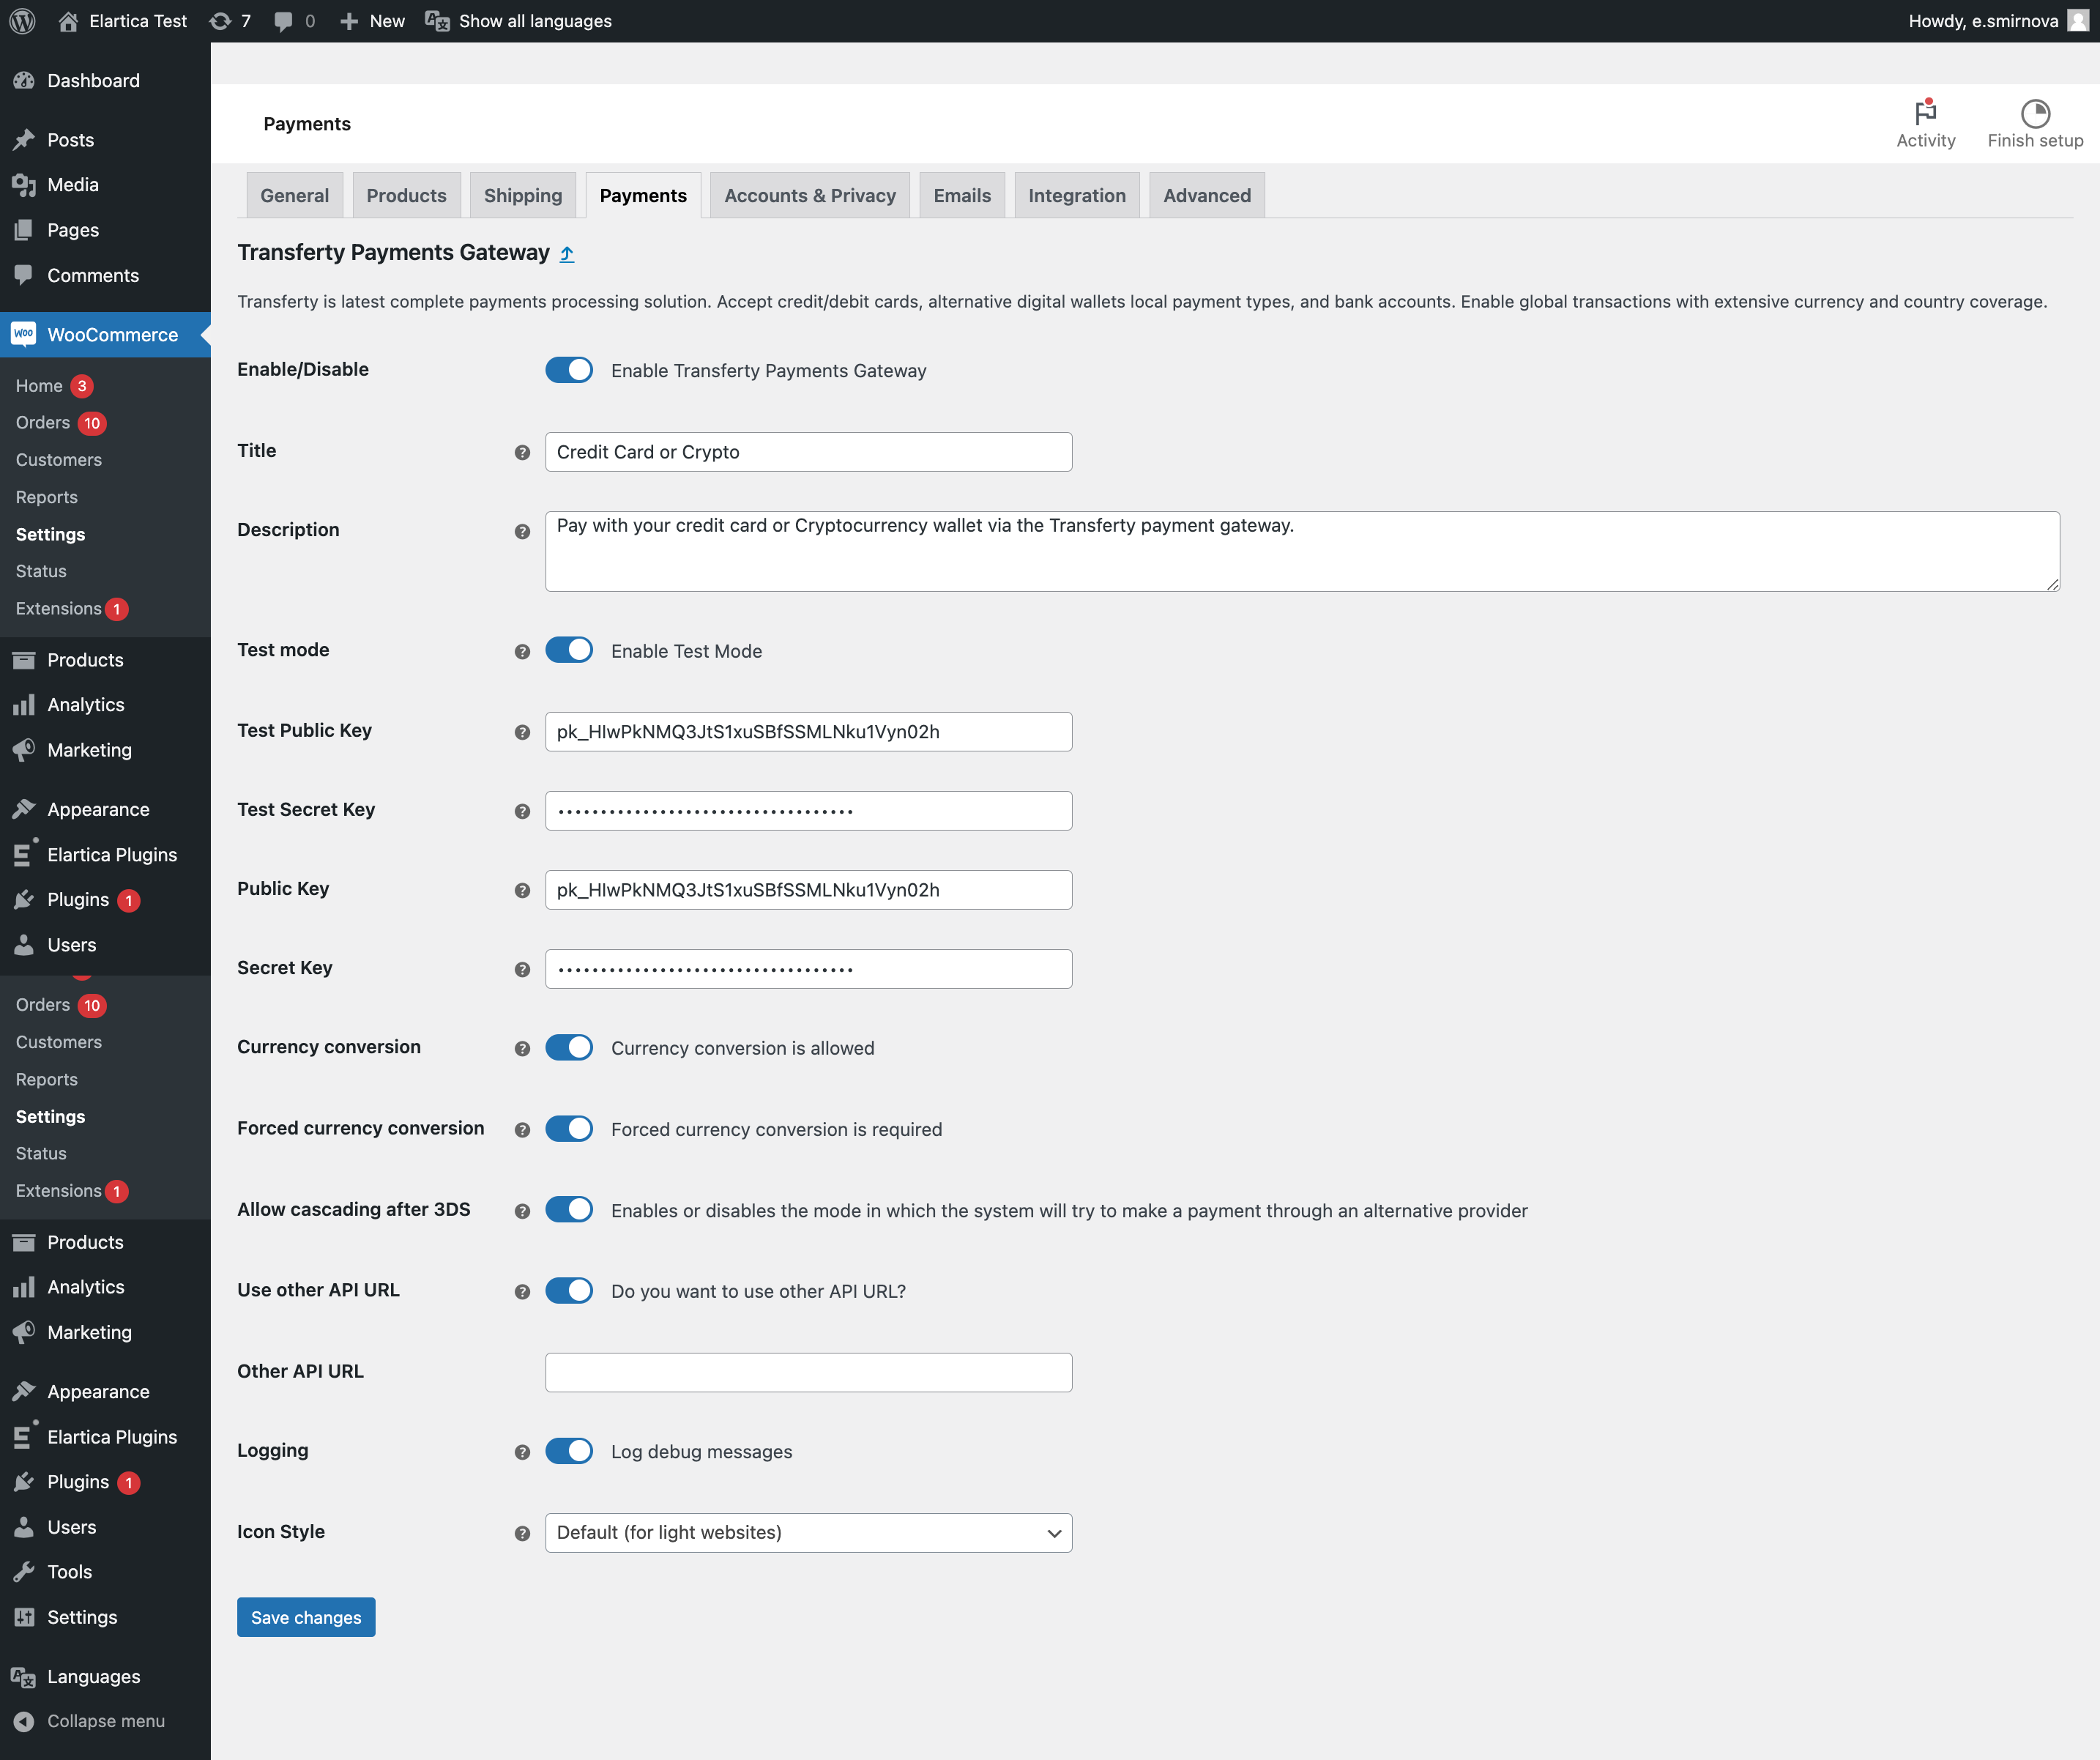
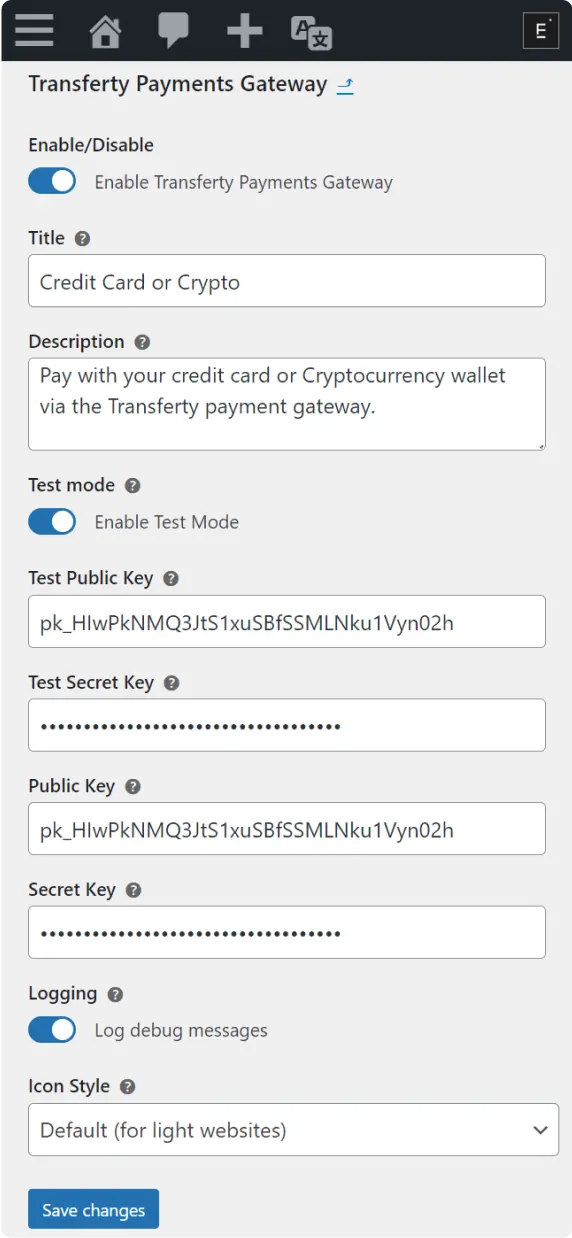
Upon installing the plugin, it is essential to navigate to the plugin settings page and complete the mandatory key fields. If needed, adjust other field settings accordingly.
Let’s walk through the necessary configurations step by step:
- Sign Up at https://dashboard.transferty.com/signup. If you’re already registered, Sign In https://dashboard.transferty.com/signin.
- After registration, the test mode is automatically activated, and a set of test keys is generated. Go to the API keys settings page https://dashboard.transferty.com/apikeys, copy the public and secret keys, and paste them into the respective fields for test public and test secret keys on the plugin settings page.
- By default, the plugin activates in test mode after installation. In this mode, you can assess the plugin’s functionality using test cards https://docs.transferty.com/en/#test-cards to verify payments during test order placements.
- If everything operates smoothly, disable the test mode on the dashboard page. Generate a pair of operational keys and copy them into the corresponding fields for private and secret keys on the plugin settings page.
- Subsequently, deactivate the test mode on the plugin page. The test private and secret fields will be concealed, indicating that the plugin is now in operational mode.
- You can allow Currency Conversion. Transferty will attempt to process the transaction in its original currency. If this fails, the transaction will be converted based on the currency configuration in the Dashboard
- Forced Currency Conversion determines whether currency conversion is mandatory. If set to true, the transaction will be converted based on the currency configuration in the Dashboard, ignoring the original currency attempt. The conversion will use the primary currency for the card’s country. If set to false, the transaction will proceed in the original currency unless conversion is necessary due to allowed currency convert settings. If no configuration is set in the Dashboard, the transaction will proceed in its initial currency.
- The option Allow Cascading after 3DS enables or disables the ability to attempt a payment through an alternative provider if the initial attempt fails after the user completes 3D Secure (3DS) verification.
- In certain situations, you can use a different API URL as directed by the support team. This can be useful when troubleshooting or when specific configurations require a unique endpoint.
- If issues arise, activate logging to review all request outcomes on the WooCommerce Logs page in your admin panel [https://your domain/wp-admin/admin.php?page=wc-status&tab=logs]
- On the WooCommerce Logs page, select the log file with the corresponding date from the list (transferty-payments-logs-yyyy-mm-dd.log file). You can scrutinize the results of all requests, including webhooks.
- Once debugging is complete, deactivate logging to optimize your site’s performance.
Compatible with your version of WordPress and WooCommerce version: Ensure the plugin has been tested and is compatible with your version of WordPress and WooCommerce.
Last Updated: Install the archive with the latest version of the plugin to avoid compatibility issues with your WordPress version or theme.
Plugins downloaded directly from the internet normally come in a compressed zip file. You can either unzip the file on your local computer before uploading it or unzip the file after uploading.


